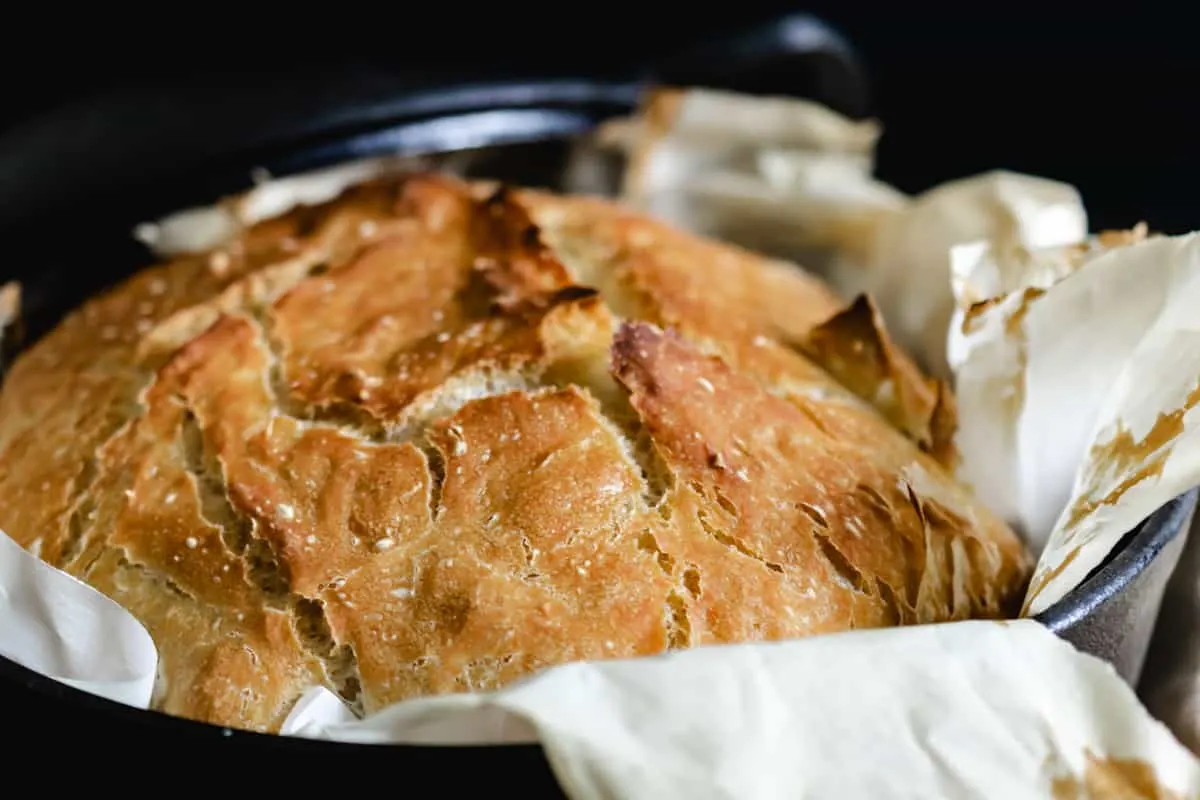
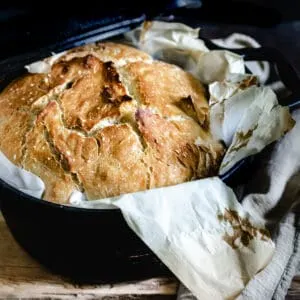
No-knead cast iron Dutch oven bread is the easiest way to create beautiful artisan bread with a signature cracked crust that looks like it came from a fancy bakery.


If you're intimidated by bread baking, then baking bread in a Dutch oven is your new best friend.
It's such a hands-off process, that you don't even have to touch the dough!
The best part, is that this is a no-knead bread recipe.
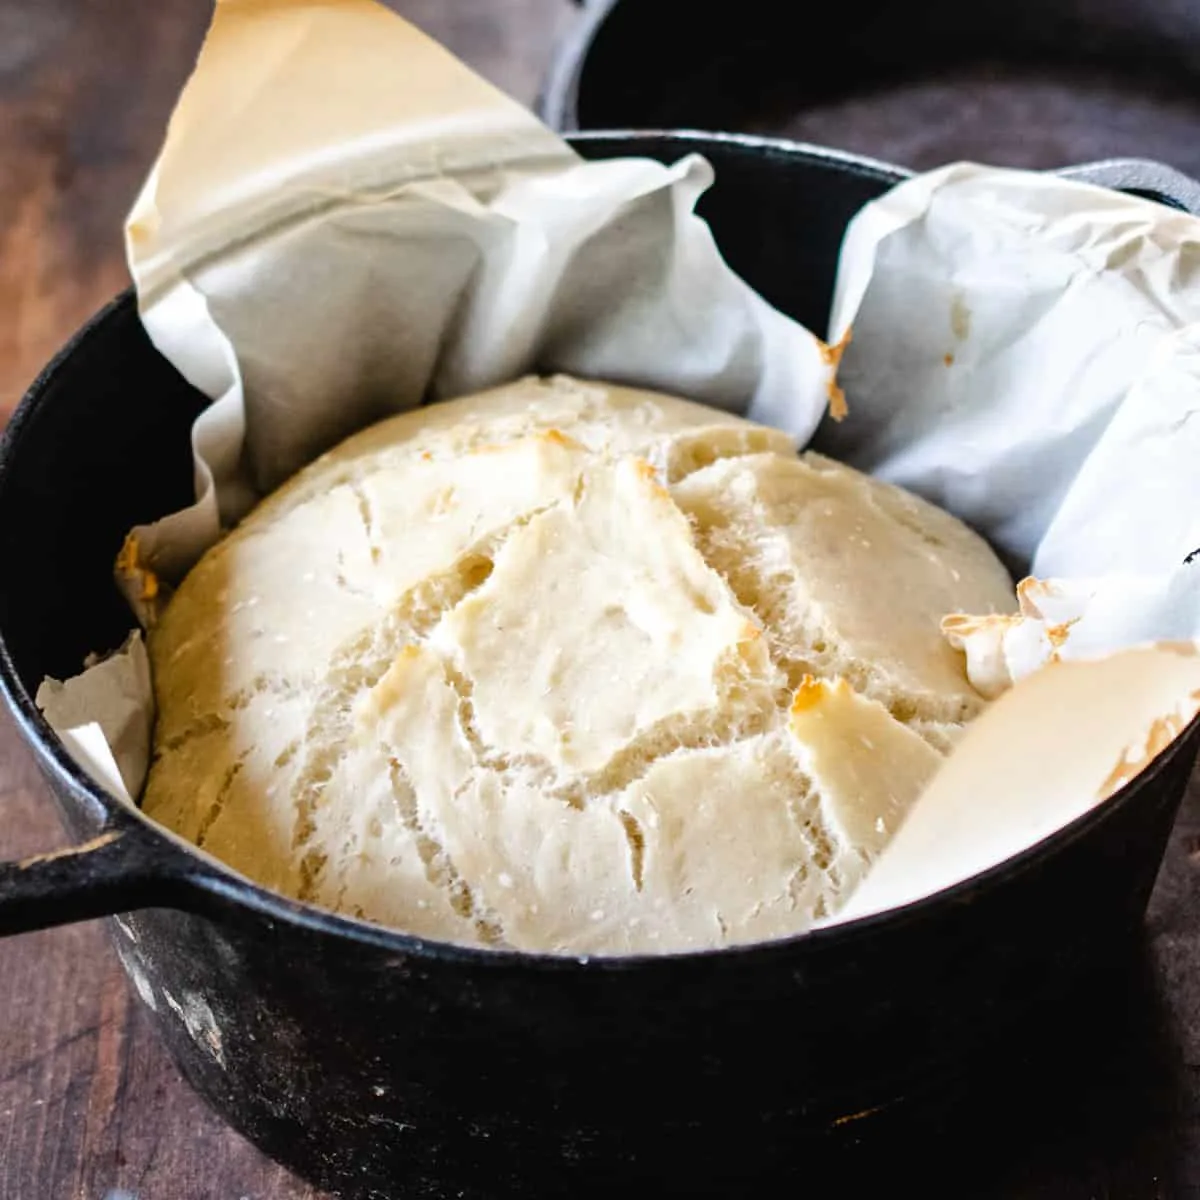
The bread dough yields a crusty top, with cracks, crevices and "ears" which refer to the signature pointy ridges of a classic Dutch oven bread.
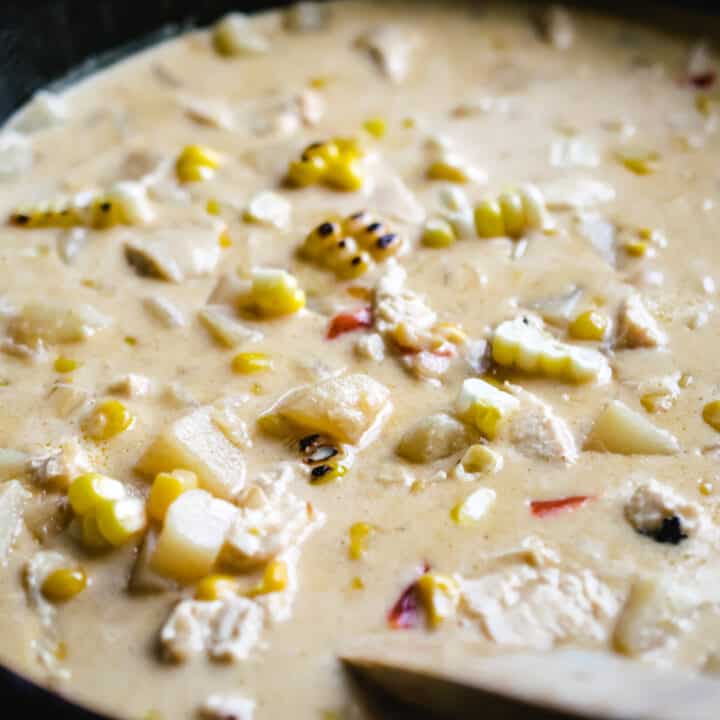
Serve this next to a soup or chili, or enjoy warm with creamy homemade butter.
What is no knead bread?
No-knead bread is an easy way to make artisan bread with a professional-looking crust. It eliminates the need for kneading (the usual method of mixing and stretching dough) that makes traditional yeasted bread baking so time consuming.
The dough is mixed in one bowl, allowed to rest, then formed into a boule and baked in a Dutch oven. The steam created when the dough is transferred from the Dutch oven sealed with its lid helps create a thick, chewy crust.
No-knead bread requires minimal effort while providing delicious bakery-style results that you can proudly serve to family and friends. That's part of why no knead bread is the best bread!
Why Make Bread In The Dutch Oven
- This recipe is great for beginners
- You don't have to spend time punching down the bread or kneading it
- It's easy to make and uses just 4 simple pantry staple ingredients
- This homemade bread loaf is absolutely delicious
Ingredients
Get all the information on these simple ingredients in the printable recipe card at the bottom of the post.
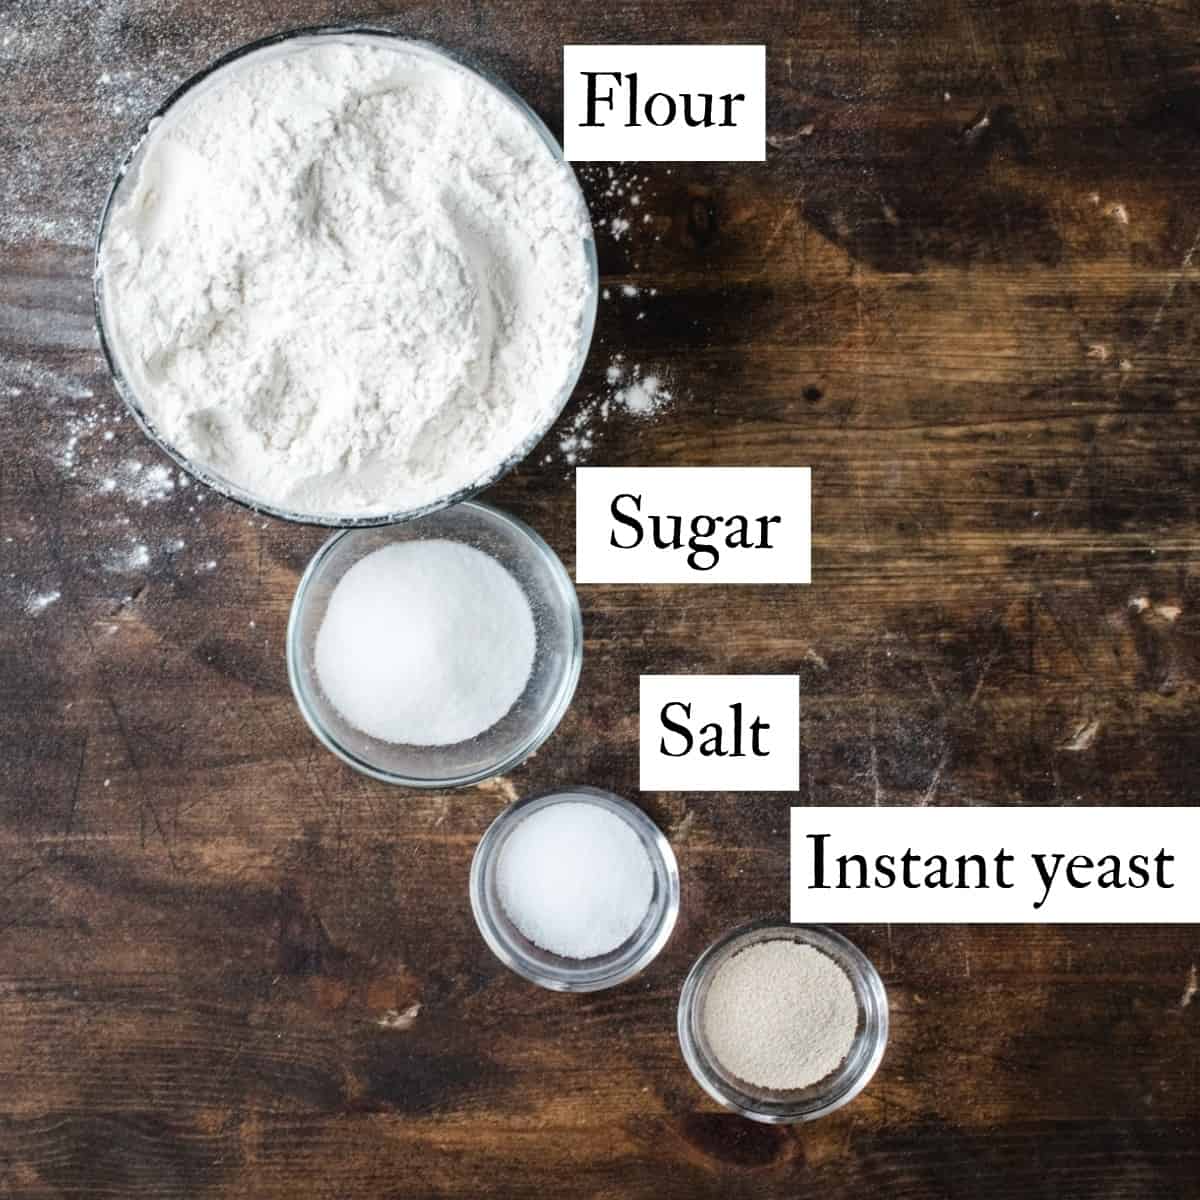

- Flour- all purpose or bread flour.
- Yeast- Instant yeast.
- Sugar- fine, granulated sugar.
- Salt- use a fine salt not a coarse one.
What size Dutch Oven should I use for this recipe?
For this bread recipe, use a Dutch oven that is between 5 quarts and 7.5 quarts in size. This ensures that your no knead Dutch oven bread recipe will have enough room in the cast iron pot and will not overflow from the oven.
How to Make Dutch Oven Bread
Wait until the dough is halfway through rising to preheat the oven and Dutch oven.
Preheat the oven and the Dutch oven.
Set the oven to 450 degrees Fahrenheit with the Dutch oven and lid in the oven, so that it may also heat up.
If your Dutch oven is not non stick, drop a piece of parchment paper inside to avoid sticking.
Add all the ingredients to a large mixing bowl, and mix with a wooden spoon.

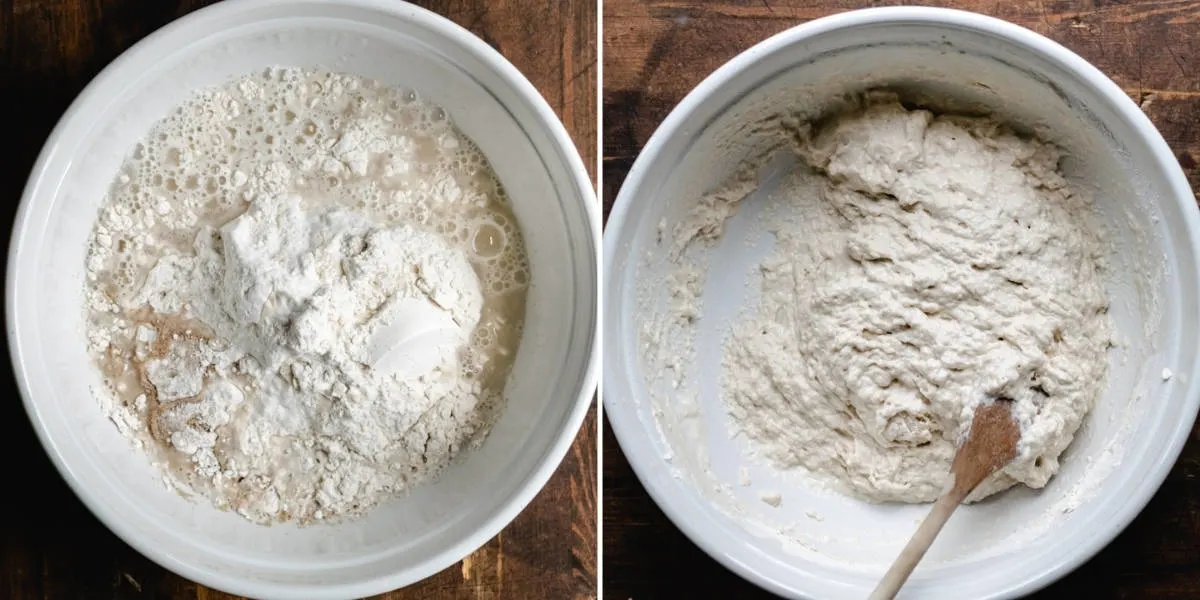
The dough will seem like a shaggy thick batter at first, but continue to stir until it comes together.
Once you can see the dough is sticking together, and is like a shaggy dough, and pulling away from the sides of the bowl, scrape it down towards the bottom of the bowl.
The dough will seem loose.
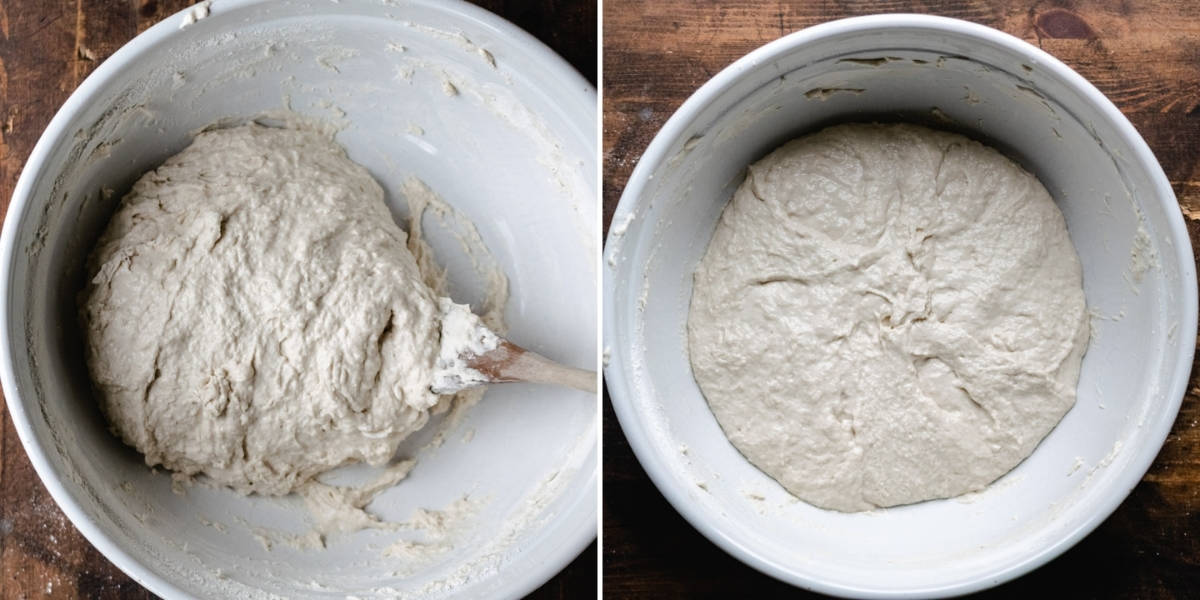

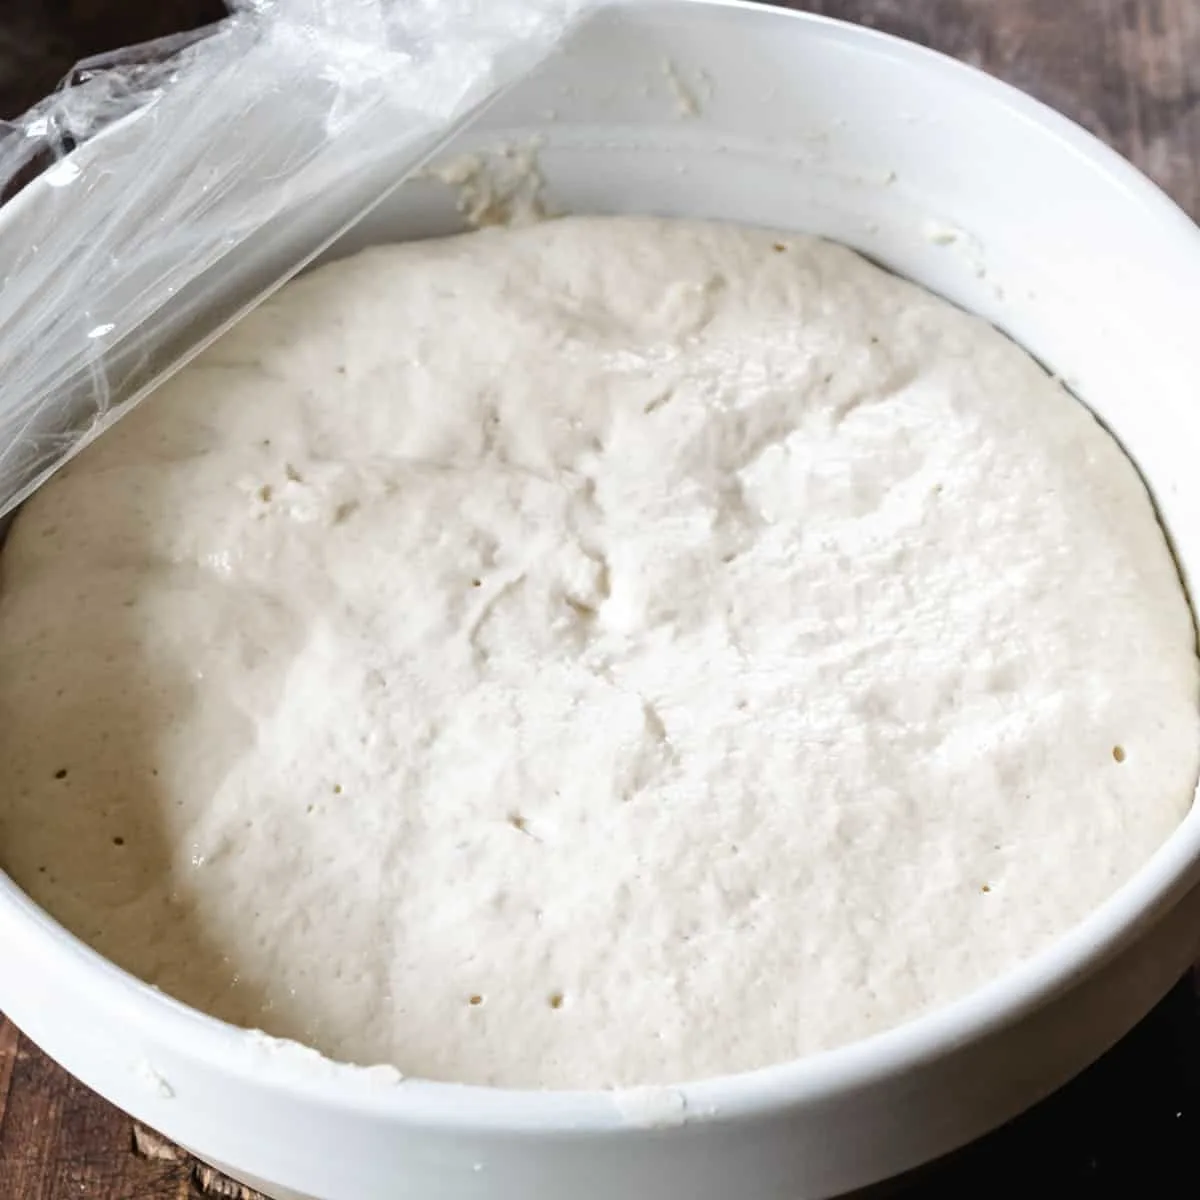
Once the dough is formed, is to allow it to rise.
Cover loosely, with plastic wrap or a light kitchen towel.
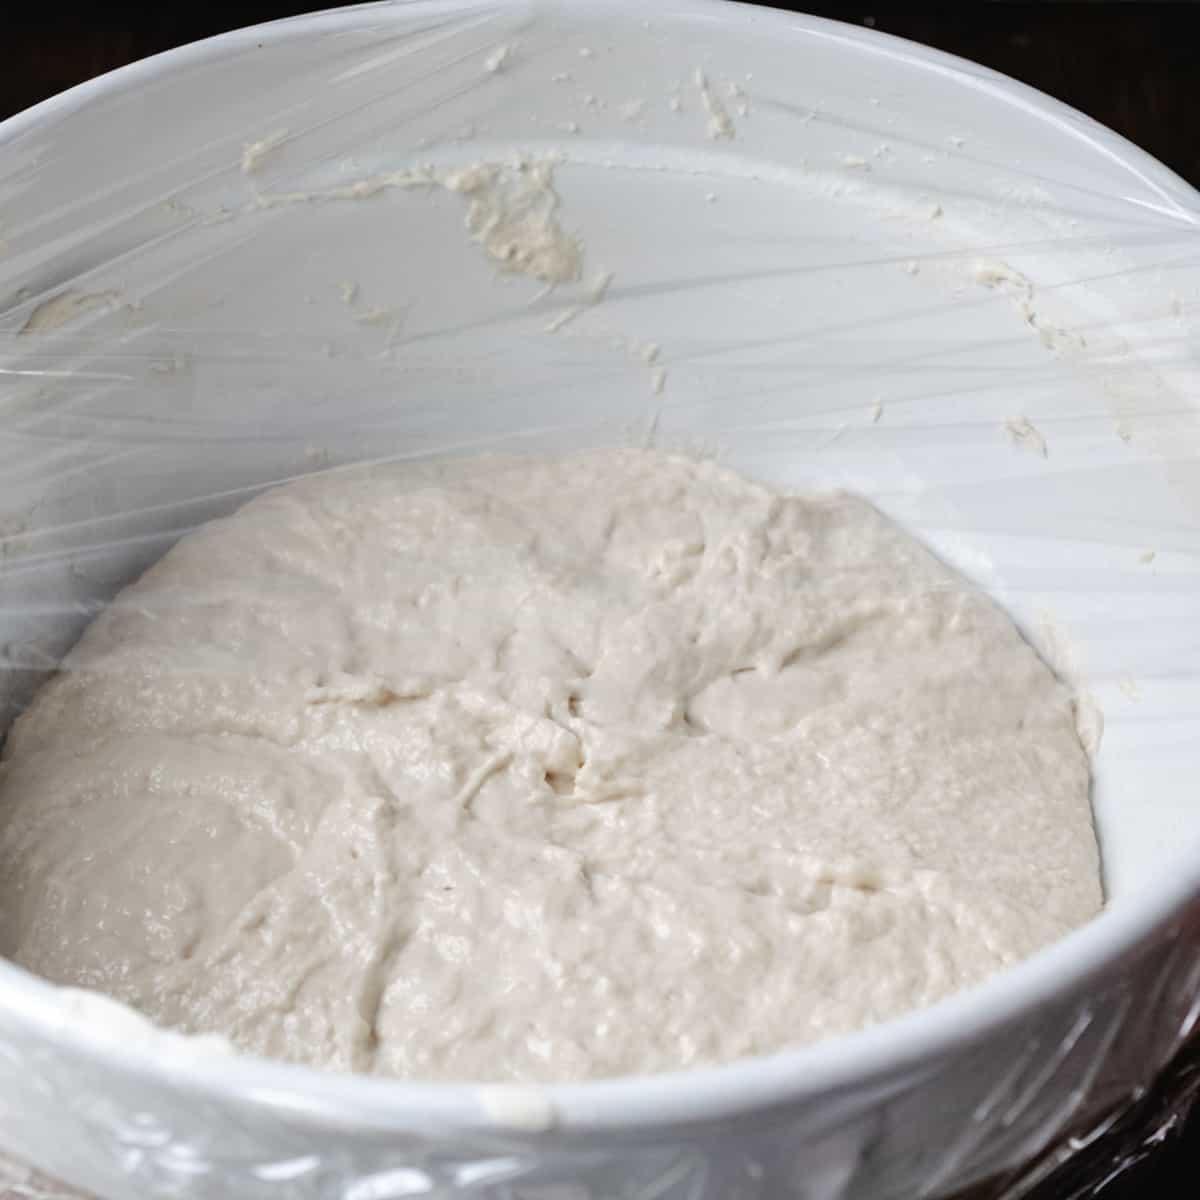

Let the covered dough rise in warm, non drafty place until doubled in size.
This usually takes an hour, but can take up to 2 hours if it's chilly or drafty in your house.

When the dough is done rising, carefully transfer it to the hot Dutch oven. If your Dutch oven is not non-stick, drop in a piece of parchment paper.
Scrape the dough mass out of the bowl and into the preheated Dutch oven, using a rubber spatula, being careful to disrupt the dough as little as possible as it slides out.

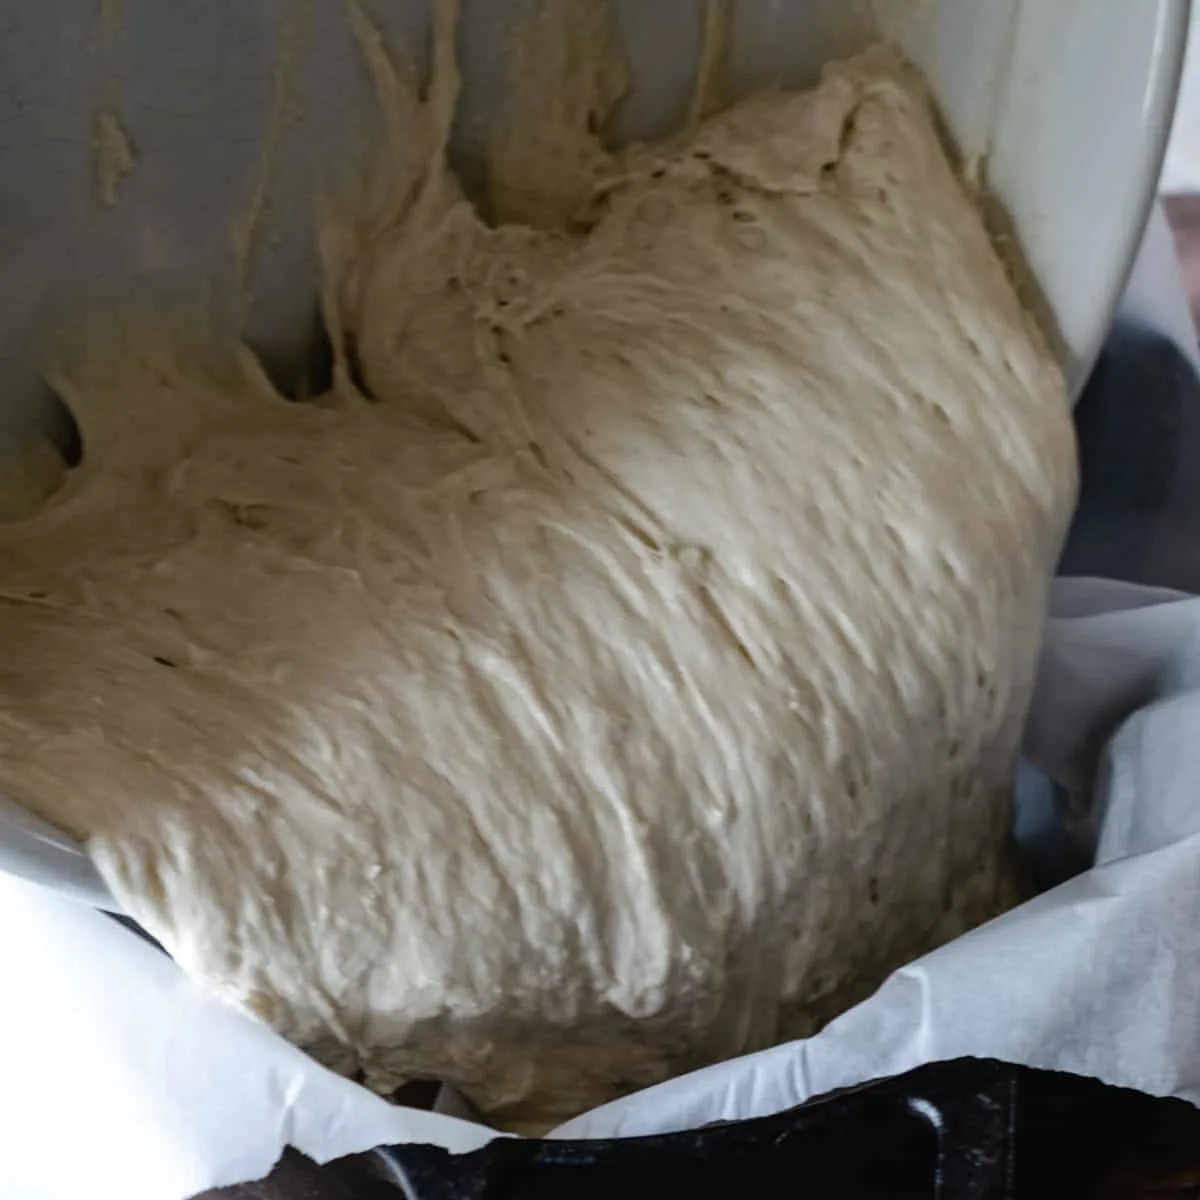
Once the dough is in the Dutch oven, don't try to situate it or shape it. This will make for more of an Artisan look as well as not deflating the dough.
Some of the most irregular shaped bread loaves have also been some of the prettiest.
Carefully place the hot lid over the dough and bake it for 30 minutes in the 450 degree Fahrenheit oven. Do not remove the lid.
After 30 minutes, remove the lid.
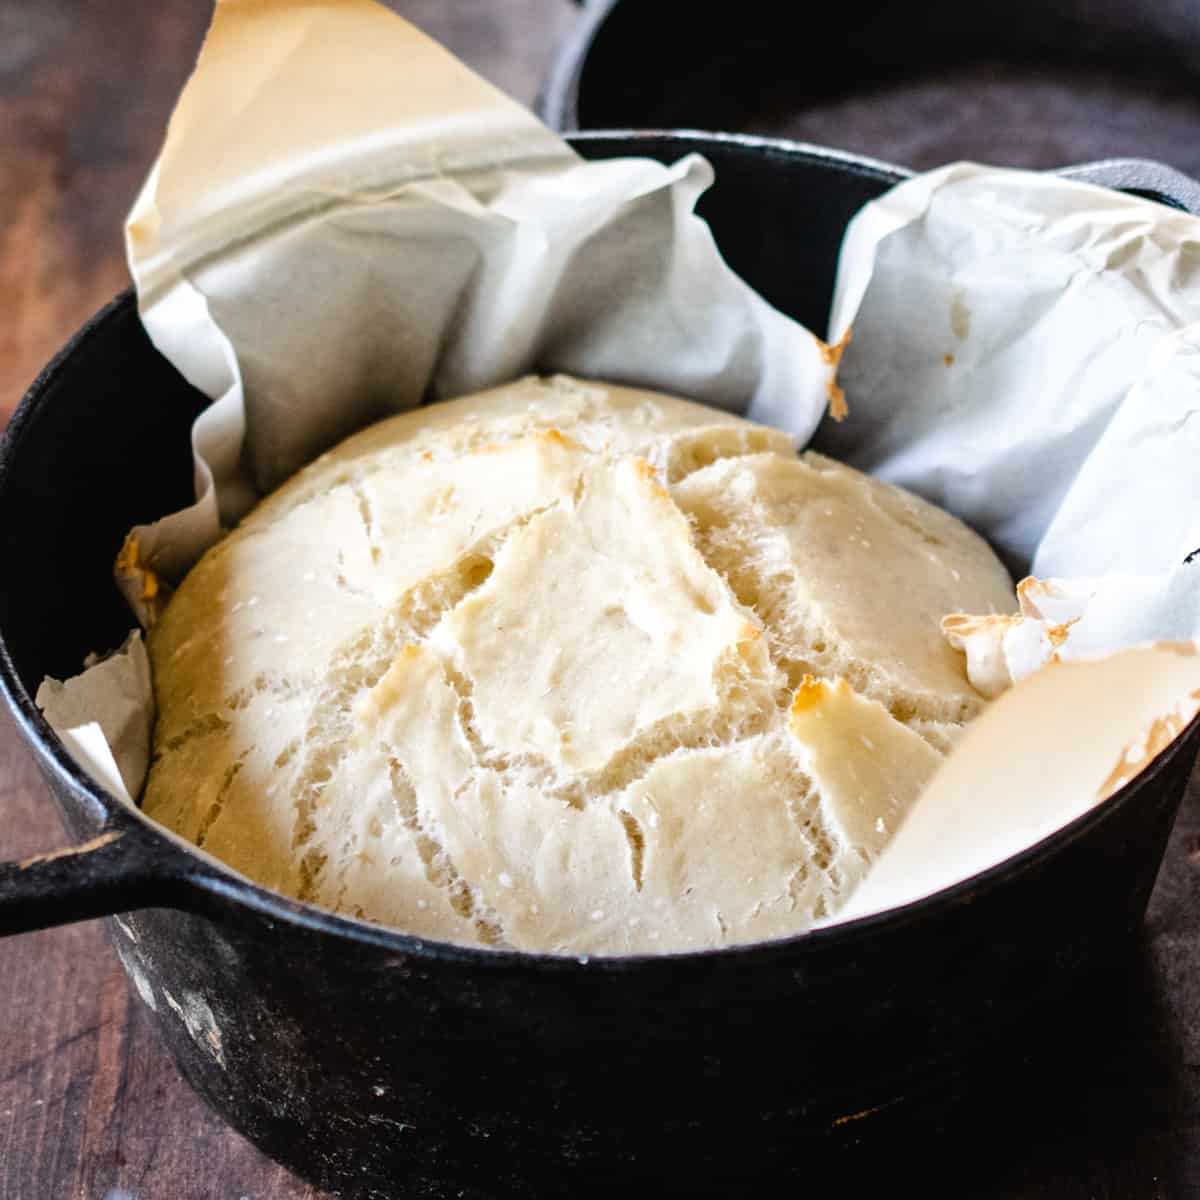
Return the bread to the oven to finish baking uncovered until the crust turns deep golden brown, about another 15 to 20 minutes.
Remove from the oven and allow to cool slightly before removing the loaf of bread.
Enjoy your loaf of crusty bread.
Storage
For best results, Dutch oven bread is best stored at room temperature, away from direct sunlight, and in a place with good air circulation.
If not enjoying the bread within a few days of baking, it can be sliced and stored in an airtight container or well-sealed plastic bag for up to 5 days.
Can you freeze dutch oven bread?
Yes, you can freeze the bread for up to 3 months.
How should I reheat homemade bread?
The best way to reheat previously frozen bread, thaw completely on the countertop then warm it in a preheated oven at 350°F (175°C) until warmed through again.
Recipe Tips
- Use between a 5 quart and 7.5 quart for this recipe.
- If you place parchment paper inside the Dutch oven, then you can easily lift out the finished bread.
- Use a deep bowl, rather than a shallow one to give the dough plenty of room to rise.
- Score the bread: Before baking, use a sharp knife or a razor blade to make shallow cuts on the surface of the dough. This allows for controlled expansion during baking and creates an attractive pattern on the loaf.
- I suggest using Instant yeast, but if you want to use active dry yeast you can. If using active dry yeast, dissolve it in the 2 cups of water that the recipe calls for at a lukewarm temperature (110 degrees F) before using it.
- When handling the hot Dutch oven lid, be sure to use pot holders. You do not want to pick up the lid after the pot has been preheatd because you will burn your hands. Nothign ruins a good loaf of fresh made bread than having burnt hands!
- If you need to, you can use a dough scraper to help get the bread dough out of the mixing bowl when you want to transfer it to your preheated Dutch oven.

What is Dutch oven bread?
Dutch oven bread is a type of bread that is prepared and cooked in a Dutch oven, which is a type of heavy pot with a tight-fitting lid. The dough is placed into the Dutch oven and allowed to rise before being covered and baked inside the Dutch oven.
This results in an artisan-style loaf with a crunchy golden crust and moist interior. It's a great way to bake your bread instead of using a baking sheet, bread loaf or bread machine.
What are the advantages of baking bread in a Dutch oven?
There are several advantages to baking bread in a Dutch oven.
- One is that the lid of the Dutch oven traps heat and moisture, which gives the bread a soft, cushiony texture and even cooking.
- Additionally, the steam produced by the lid creates a flavorful crust with a nice chewiness. This results in a much better flavor than can be achieved from using other baking methods.
- Your easy Dutch oven bread is an easy way to enjoy your artisan-style bread
Can I use any type of Dutch oven to bake bread?
Yes, you can use any type of Dutch oven to bake bread. A Dutch oven is essentially a large, thick-walled pot with a lid and can be made from cast iron, enameled cast iron, or ceramic.
Each material has its own advantages when it comes to baking bread.
Cast iron is the most popular material for baking bread and provides even heat distribution and excellent heat retention. It's also relatively inexpensive compared to other materials.
Enameled cast iron is less conductive than regular cast iron, so it's not as good at evenly distributing heat but retains the heat better.
Last but not least, ceramic Dutch ovens are great for controlling humidity levels while baking your bread, creating an extremely crisp crust without drying out the interior.
Can I add different ingredients or flavors to Dutch oven bread?
Yes, you can definitely add different ingredients or flavors to Dutch oven bread! Before baking your bread in a Dutch oven, you can mix in herbs, cheese, nuts, dried fruit and other flavorings.
You can also top your bread with seeds or nuts before baking it for an extra crunchy texture.
Additionally, if you want to make a sweeter version of this easy bread recipe, you can add honey or syrup to the dough before baking. Experimenting with spices and ingredients is the best way to find out what flavors work best for your own recipes.
What kind of flour works best for Dutch oven bread?
The best flour to use for this kind of homemade bread is a combination of all-purpose flour and bread flour. All-purpose flour provides a soft, fluffy texture while the additional bread flour helps the dough rise better.
This combination of flours also produces a crust that is crispy on the outside while keeping the interior moist and fluffy. You can also substitute some of the all-purpose flour for whole wheat flour and other alternative flours if you’d like to try different combinations.
In this recipe, I didn't really specify how much of each, most people have one or the other, but you can use a combo of the two types of flour if desired.
When baking bread, I tend to use bread flour so I know I'll get a nice consistency, but this homemade bread recipe is one that does well with a mixture of all purpose flour and bread flour.
Should I let the bread cool completely before slicing?
Yes, it is recommended that you let the bread cool for 30 minutes to an hour before slicing it. This helps to ensure that the interior of the bread sets up properly, so it doesn't fall apart when you slice into it.
The crust will also be crisper if it gets a chance to cool completely before slicing.
You can let your bread rest on a wire rack and cool before you slice into the crunchy crust. I know it's hard to let it rest and cool some, but it's totally worth it so you don't end up with gummy bread on the inside.
They also make a bread loaf cutting board with knife if you would find that helpful. Cutting a different sized or shaped loaf can feel difficult the first time or two, so using one of these cutting boards can help make your bread baking experience a little more enjoyable.
What are some common mistakes to avoid when baking Dutch oven bread?
One common mistake is using too much flour when shaping the dough – this will leave your finished loaf dense and dry. Also, make sure not to add too much liquid to your bread dough; it should have just enough moisture so that it wraps around itself without cracking or drying out.
It's best to sprinkle a bit of flour on top of the Dutch oven before placing the dough in it, as this will help prevent sticking.
What should I serve my bread with?
Try enjoying a slice of bread with a large bowl of warm soup, like our incredibly delicious Tomato Basil Soup recipe. Enjoy a slice of bread with a big green salad.
Use two slices as your sandwich bread.
Related recipes...


If you tried this recipe, leave a rating using the stars in the recipe card, or leave a comment below.
📖 Recipe

Dutch Oven Bread
Equipment
- Dutch Oven
Ingredients
- 4 ¼ cups all purpose flour
- 1 ½ teaspoon salt
- 1 tablespoon sugar
- 2 ½ teaspoon instant yeast
- 2 cups water
Instructions
- Preheat oven and Dutch oven and lid in the oven to 450 degrees. If Dutch oven is not non-stick, line it with parchment paper.
- Add flour, salt, sugar, instant yeast and water to a large bowl. (See notes for using active dry yeast.)
- Combine all ingredients in a large, deep bowl with a wooden spoon. If necessary, add another tablespoon or two of flour.
- Once the dough starts to form a loose ball, scrape the edges of the bowl down toward the bottom.
- Cover loosely with plastic wrap or light towel.
- Put in a warm, non-drafty location and allow to rise until doubled in size (about 60 minutes).
- Scrape the dough carefully into the Dutch oven, letting it fold out over itself, trying not to deflate it.
- Place the lid over the dough and pot.
- Bake for 30 minutes, remove lid and bake another 15 minutes until crust is golden brown.
- Let cool slightly before carefully removing from Dutch oven and slicing.
Notes
- The dough is very loose and sticky. Stir it together with a spoon, and scrape it into a pile and let it rise in the same bowl.
- Use between a 5 quart and 7.5 quart Dutch oven for this recipe.
- If you place parchment paper inside the Dutch oven, then you can easily lift out the finished bread.
- Setting the dough in a warm, non drafty area, and covering it will help it to rise more quickly, on average about 1 hour.
- Use a deep bowl, rather than a shallow one to give the dough plenty of room to rise.
- Instant yeast is preferred.
- If using active dry yeast, dissolve it in the 2 cups of water that the recipe calls for at a lukewarm temperature (110 degrees F).
- The dough will seem very loose and sticky, that's why it's cooked in a Dutch oven. If it seems to loose, add 1-2 tablespoons of water but not more.
david corn
Thursday 5th of November 2020
yummy
Erin
Sunday 8th of November 2020
Thanks David!
David Winn
Sunday 8th of November 2020
Yum!
Haley
Thursday 5th of November 2020
Another goodie!
Erin
Sunday 8th of November 2020
Thanks Haley, glad you like it!
Nanette Tettaton
Thursday 5th of November 2020
Best recipes available !
Erin
Sunday 8th of November 2020
Nanette, thank you!